Your property’s perimeter is its first line of defense, whether the threat comes from hundred mile an hour winds or an opportunistic intruder testing your back gate. Homeowners often focus on interior upgrades while overlooking the boundary systems that actually keep weather and unwanted visitors out. A resilient perimeter combines smart landscaping, sturdy structures, and weatherproofed building components working together. This guide walks through the practical steps you can take to fortify your property from the ground up, without wasting money on upgrades that won’t hold up when it matters most.
Evaluating Your Property’s Current Vulnerabilities
Before investing in any upgrades, walk your property line and identify weak points the way a storm or intruder would. Look for low fences, overgrown shrubs that block sightlines, and areas where drainage pools near the foundation. Pay attention to how wind moves across open yards, since gaps between structures can funnel gusts directly at windows and doors. A clear-eyed assessment now saves money later by targeting the fixes that matter most.
Many homeowners are surprised to learn that elevation and water flow play a bigger role in storm resilience than they expected. Properties in flood-prone or coastal areas sometimes benefit from raised construction, which is why consulting with stilt home builders can be worthwhile if you’re rebuilding or adding onto a structure near water. Raising a home’s living space above potential flood levels reduces storm damage risk significantly while also improving sightlines around the property for security purposes.
Reinforcing Fences and Gates for Wind and Security
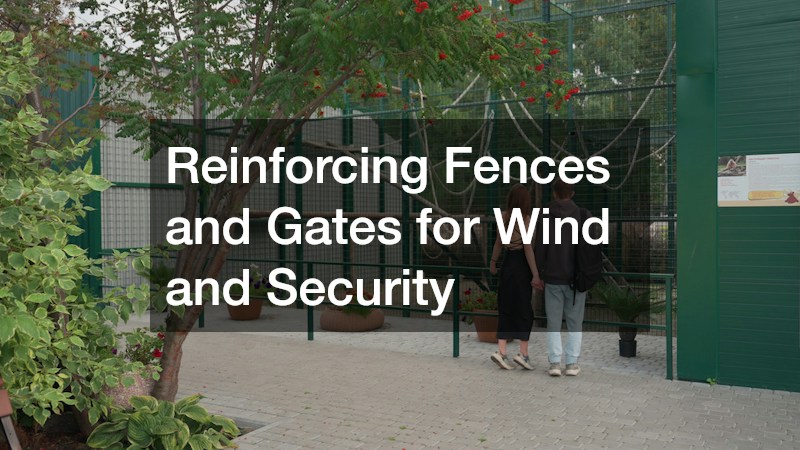
A fence does double duty on most properties, marking boundaries for privacy while also acting as a physical barrier against intruders. Older wood fences with rotted posts are among the first things to fail in high winds, turning into airborne debris that can damage windows or siding. Metal gates with weak hinges are equally problematic, since they can blow open during storms or be forced by someone trying to gain entry.
Working with experienced fence companies to assess post depth, material choice, and gate hardware can make a measurable difference in both storm performance and security. Aluminum and steel options tend to hold up better in high wind zones than standard wood panels, though properly treated wood can still perform well when installed correctly. Adding self-closing hinges and sturdy locks to gates addresses the security side of the equation without requiring a full fence replacement.
Protecting Outdoor Living Spaces From Storm Damage
Decks and patios often take a beating from sun, rain, and wind cycles, and damaged boards or railings become safety hazards during severe weather. Loose boards can lift in high winds, while weakened railings may fail under pressure if someone leans against them during an evacuation. Regular inspection of fasteners, support posts, and surface wear helps catch problems before they become emergencies.
Scheduling deck restoration every few years extends the life of the structure and ensures it can withstand both routine use and severe weather events. Restoration typically involves replacing damaged boards, resealing surfaces against moisture, and reinforcing structural connections that may have loosened over time. A well-maintained deck not only looks better but also reduces the chance of storm-related debris and injury around your home.
Choosing Roofing Materials That Withstand Severe Weather
Your roof is arguably the single most important component in storm defense, since wind and water damage almost always start at the top of the structure. Asphalt shingles remain popular for their cost, but impact-resistant options and metal roofing offer better performance in high wind and hail regions. The right material choice depends on your climate, budget, and how long you plan to stay in the home.
Getting quotes from multiple residential roofing companies before committing to a project helps you compare not just price but also warranty terms and installation quality. Many homeowners make the mistake of choosing based on cost alone, only to discover gaps in workmanship when the next storm hits. Asking for references and checking how long a company has operated in your specific region can reveal a lot about their familiarity with local weather patterns.
Scheduling Routine Roof Inspections and Timely Repairs
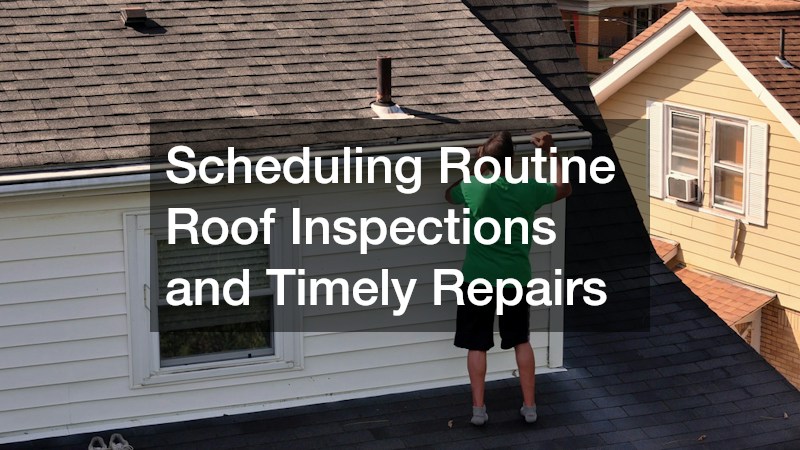
Even a well-installed roof needs periodic attention, since small issues like lifted shingles, cracked flashing, or deteriorating sealant around vents can escalate quickly during storm season. An annual inspection, ideally scheduled before the start of hurricane season or heavy winter weather, catches problems while they’re still inexpensive to fix. A second check in early spring is also worth considering, since it allows you to assess any damage that accumulated over the winter months before summer storms arrive. During an inspection, a qualified roofer will typically look for curling or missing shingles, rusted flashing, clogged gutters, and soft spots in the decking that signal trapped moisture. They’ll also check attic ventilation and insulation, since poor airflow can trap heat and moisture that quietly shorten a roof’s lifespan. Catching these issues early often means a repair bill of a few hundred dollars instead of a full roof replacement costing thousands. Many roofers offer these seasonal checkups as part of a standard maintenance package, often bundling minor repairs like resealing flashing or replacing a handful of shingles into the same visit. This makes it easy to stay ahead of potential damage without having to schedule separate service calls throughout the year. Keeping a simple log of past inspections and repairs can also help you spot recurring weak points and plan for larger repairs before they become emergencies. Waiting until a leak appears inside the home usually means the damage has already spread into insulation or framing. By that point, repair costs climb quickly, and mold growth becomes a real concern, especially in warmer, humid climates where moisture lingers.
Scheduling a pre-season checkup, ideally once in spring and once in fall, is a small investment compared to the cost of emergency repairs after a storm. A professional inspection typically runs $150 to $400 and covers flashing, vents, and chimney seals in addition to the shingles themselves, areas that are easy to overlook from a ladder in your backyard. Walk the attic and exterior yourself between professional visits, checking for daylight through the roof boards, sagging sections, or granules collecting in gutters, since these early warning signs often appear months before a leak becomes noticeable indoors. Also look for curling or cracked shingles, rusted flashing around pipes, and dark streaks that can signal trapped moisture or algae growth. A pair of binoculars works well for spotting these issues from the ground if you’re not comfortable getting on the roof. Getting quotes from a few roofing companies ahead of storm season can also help you avoid scrambling for availability once repairs become urgent. Ask each company about their warranty terms, typical turnaround time for emergency work, and whether they’re licensed and insured for your specific roof type, since these details vary more than most homeowners expect. Keeping a written record of each inspection, along with dated photos of problem areas, also helps demonstrate due diligence if you ever need to file a claim. Store these records alongside receipts for any repairs, since insurers increasingly ask for proof of ongoing maintenance before approving storm-damage payouts.
Understanding Structural Reinforcements Behind the Walls
Storm resistance isn’t only about what’s visible on the outside of your home. Structural elements like bar joists, which support roofs and floors in many homes and additions, play a critical role in how well a building withstands heavy snow loads or wind uplift. These steel components are especially common in garages, workshops, and additions with longer spans that wood framing alone can’t support. Bar joists work by distributing weight evenly across a truss-like steel frame, allowing them to span 20, 30, or even 60 feet without the sagging or bowing that wood beams might experience over time. This makes them a popular choice for structures with open floor plans, such as detached garages, barns, or sunrooms, where interior support columns aren’t practical or desired. Because they’re hidden behind drywall, insulation, or roofing material, homeowners often don’t think about these components until a problem arises. Rust and corrosion can weaken steel joists over years of moisture exposure, particularly in humid climates or poorly ventilated attics, so periodic inspection matters even though you can’t see the joists directly. When evaluating storm readiness, it’s worth asking a contractor or inspector whether your roof framing relies on bar joists, and if so, how they’re anchored to the walls below. Proper connections, such as welded or bolted joist seats, can make the difference between a roof that holds during high winds and one that lifts away at the fasteners.
If you’re adding a structure to your property or reinforcing an existing one, discussing load requirements with a structural professional ensures the framing can handle regional weather extremes. This means accounting for wind uplift ratings, snow load capacity, and seismic considerations specific to your area’s building codes, not just the generic minimums builders sometimes default to. An engineer can calculate whether your rafters, trusses, and connectors are rated for 120 mph gusts versus 90 mph, a difference that matters enormously during hurricane season. Undersized or corroded supports are a hidden vulnerability that often goes unnoticed until a major storm exposes the weakness. Common culprits include rusted hurricane straps, deteriorating ledger boards, and undersized anchor bolts connecting walls to the foundation. Homes built before modern codes were adopted are especially prone to these gaps, since retrofits like metal connectors and reinforced shear walls weren’t standard practice decades ago. A simple attic or crawlspace inspection can reveal whether framing members show signs of water damage, pest activity, or metal fatigue around joints. Look for discoloration, soft wood, or gaps where connectors have pulled away from studs. Catching these issues early often costs a few hundred dollars in repairs rather than tens of thousands in structural failure down the line. Investing in proper structural reinforcement during construction is far cheaper than repairing a collapsed roof after the fact. Retrofitting an existing structure with hurricane ties, reinforced gable ends, or upgraded anchor bolts typically runs a fraction of the cost of rebuilding after storm damage, and many insurers offer premium discounts for documented upgrades.
Preparing for Major Property Upgrades and Site Work
Large perimeter projects, like installing a new drainage system, regrading your yard, or adding a retaining wall, often require heavier equipment than most homeowners have on hand. Renting equipment rather than hiring a full crew can be a cost-effective option for property owners comfortable managing their own project timeline. It’s worth weighing the complexity of the job against your own experience before deciding to go the do-it-yourself route.
An excavator rental can make quick work of digging footings for fence posts, trenching for drainage lines, or clearing debris after a storm has damaged trees or structures. Rental companies typically offer short-term and weekly rates, along with basic operating instruction for first-time users. Always check your local permit requirements before digging, since underground utility lines can pose serious safety risks if struck accidentally.
Managing Debris and Waste During Renovation Projects
Any significant perimeter upgrade, whether it’s a fence replacement, deck rebuild, or roof overhaul, generates more waste than a typical household trash pickup can handle. Trying to haul old fencing, shingles, or decking material yourself often costs more in time and vehicle wear than it saves. Planning for proper disposal upfront keeps your project site safer and more organized throughout construction.
Arranging a dumpster rental before work begins gives contractors and DIYers alike a designated spot for debris, reducing the chance of nails, splinters, or sharp metal scattered around the yard. Sizes vary widely, so matching the container to your project scope prevents overpaying for space you won’t use. Many rental companies also handle specific materials like shingles or treated wood, which sometimes require separate disposal processes due to local regulations.
Verifying Climate Control Systems Survive Severe Weather
Outdoor HVAC units are often overlooked in storm preparation, despite sitting directly in the path of flying debris and flooding. A unit that’s improperly secured can be knocked off its pad or damaged by falling branches, leaving your home without climate control exactly when you need it most. Wind-blown debris can also bend condenser fins or puncture refrigerant lines, turning a simple cleanup into a costly repair bill. Elevating the unit on a stable base, typically 3 to 4 inches above expected flood levels, keeps it clear of standing water during heavy rain or storm surge. Hurricane straps or tie-down kits anchored into a concrete pad add another layer of protection against high winds, preventing the unit from shifting or tipping. For homes in flood-prone areas, some contractors recommend mounting the unit on an elevated platform several feet off the ground. Installing a protective cage made of galvanized steel around the unit guards against falling branches and wind-driven debris without blocking airflow. Trimming nearby trees and clearing loose landscaping materials before storm season further reduces the risk of impact damage. A quick seasonal inspection of the mounting pad, straps, and surrounding drainage can catch small issues before they turn into major repairs.
Your outdoor condenser unit is essentially a sitting target during high winds, which is why consulting with reputable AC companies about hurricane straps, surge protectors, and proper drainage around the unit adds a layer of protection that’s easy to overlook. Hurricane straps or tie-down kits anchor the unit to its concrete pad, preventing it from tipping over or becoming airborne debris in gusts exceeding 75 mph. Surge protectors, meanwhile, guard against the electrical spikes that often accompany lightning strikes or power grid fluctuations during storms, which can otherwise fry a compressor that costs thousands to replace. Many companies offer pre-storm inspections that check refrigerant lines and electrical connections for vulnerabilities, typically for a modest service fee compared to emergency repair rates. These inspections often include tightening loose fittings, checking capacitor health, and confirming that the condensate drain line isn’t clogged with debris that could cause water backup and damage during heavy rains. Technicians may also recommend trimming nearby vegetation or securing loose patio furniture that could become projectiles striking the unit. Taking these steps before severe weather arrives helps avoid the discomfort and expense of emergency repairs during peak demand season, when service calls can take days instead of hours. It’s worth scheduling this inspection at least once a year, ideally a month or two before your region’s storm season typically begins. A small upfront investment in professional assessment can mean the difference between riding out a storm comfortably and facing a sweltering, costly repair afterward.
Strengthening your property’s perimeter isn’t a single project but an ongoing commitment that touches everything from fencing and decking to roofing and structural support. Start with an honest assessment of your weakest points, then prioritize upgrades based on your climate, budget, and timeline. Bringing in qualified professionals for the jobs that require expertise, while handling smaller maintenance tasks yourself, strikes the right balance between cost and protection. The sooner you address these vulnerabilities, the better positioned your home will be when the next storm or security challenge arrives.
About the Author